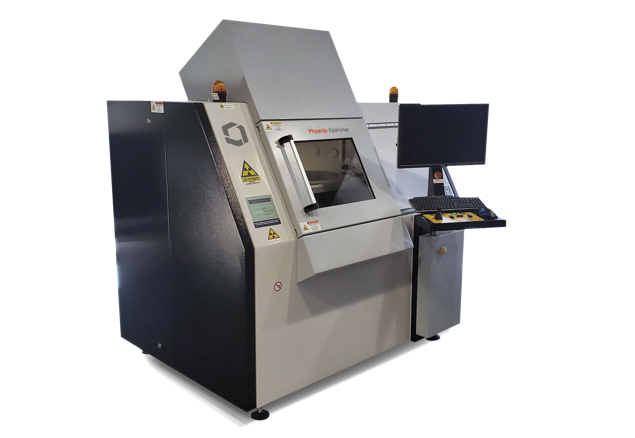
Phoenix X|aminer - Industrial Microfocus X-Ray Inspection System
Super high price-performance ratio NDT X-ray AXI system
Extremely easy to use 2D X-ray electronics inspection technology with 3D Computed Tomography (CT) option in one system
Ideal entry level non-destructive testing 160 kV X-ray AXI system for process and quality control of electronic assemblies, components and PCBA to ensure both productivity and profitability
Phoenix X|aminer System
The Phoenix X|aminer is Waygate Technologies' easy to use entry-level microfocus X-ray inspection (AXI) system, which provides a strong performance that is designed for the special needs of the high-resolution inspection of electronic assemblies, components and PCBA. Due to the new CsI flat panel detector, the system provides significant better signal-to-noise-ratio, sharpness and life-imaging capability. The powerful and proprietary Phoenix X|act base software for 2D and Phoenix Datos|x base for CT offers ease of use and allows manual as well as automatic inspection.
Product Highlights
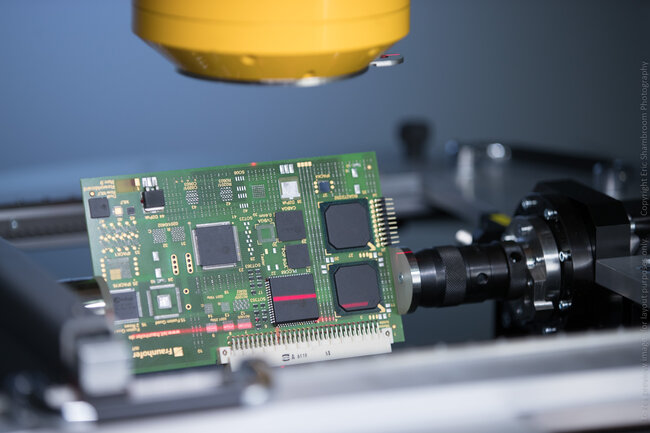
Phoenix X|aminer is the 160 kV entry level for Waygate Technologies' brilliant 2D X-ray system fleet
The premium features ensure precise and efficient and electronics inspection
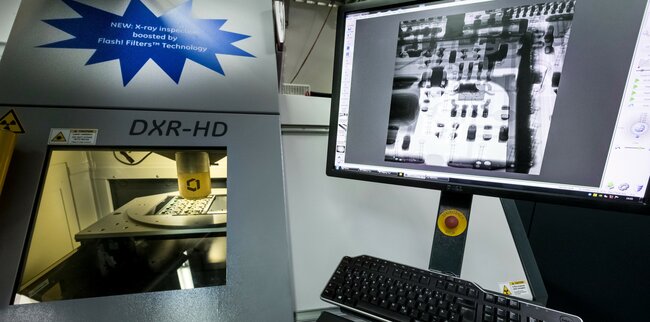
Powerful X-ray source with unlimited lifetime in combination with new X-ray detector
Patented OVHM based manipulator for highest magnification in combination with easiest sample handling
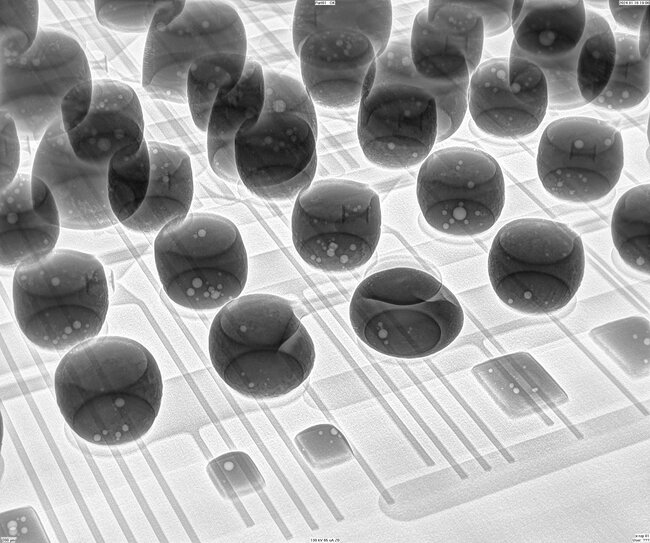
Proprietary 2D and 3D software package delivers industry leading image processing & evaluation technologies
Well-Proven technology (+1000 installations) that meets stringent industry standards
Benefits

Unlimited lifetime 160 kV / 20 W open X-ray tube to penetrate even high absorbing components
New detector with improved scintillator technology for higher quality electronics inspection
Small footprint due to comprehensive software package

Intuitive operation through proprietary Phoenix X|act and Phoenix Datos|x
Flash! Electronics maximizes productivity with fastest and most accurate image processing
Automated real X-ray sample map for easy orientation on top, bottom and even inside samples

Fast and easy programming enables automated inspection with image processing and evaluation integrated
Small footprint perfectly adapts to most workplaces

Product Specifications
Detail
Data
Tube type
open microfocus
Max. voltage / power
160 kV / 20 W
Max. detail detectability
0.5 µm
Resolution (Jima Structure)
2 µm
Max. inspection area
16” x 16”
Max. sample size
20” x 20”
Max. sample weight
5 kg / 11 lbs.
3D CT option
Yes
Plananr CT
No
Key application
PCB inspection
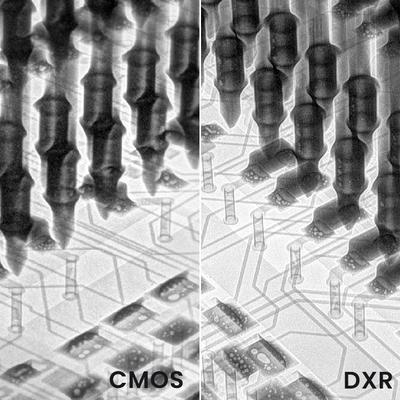
Newest superior resolution DXR S85 detector with improved scintillator technology leads to more efficient and accurate electronics inspection
- Superior 85 µm pixel resolution and detail detectability down to 0.5 µm for high performance failure analysis
- Improved CsI scintillator technology for higher inspection efficiency and better image quality
- 130 mm x 130 mm large active area for significant productivity improvement
- Higher pixel depth (16bit) for more image details
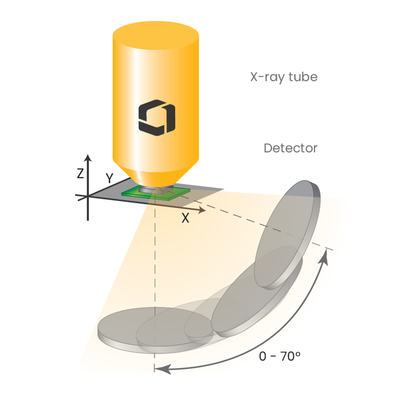
Conventional tilt techniques generate oblique views by simply tilting the sample, which involves moving the region of interest away from the X-ray tube resulting in a decrease in magnification.
The OVHM|module was specifically designed to enable oblique views of up to 70 degrees and 0 to 360 degree rotations at highest magnification.
Unlike conventional systems, the X-ray tube is located above the sample tray allowing the user to move the sample as close to the tube head as needed. Only this guarantees highest magnification in combination with easiest sample handling.
Phoenix X|act is a powerful image processing software to program automatic test cycles. Manual as well as fully automated X-ray inspection can be done easy and self-explanatory. It is available in two versions: base and operator offer multiple new features like:
Easy macro recording for intuitive programming of inspection tasks
- Easy teach in of positioning and image processing parameters
- All display settings can be saved with one click
- Enhanced sample map functions – once created, the sample map can be used for all boards of the same type
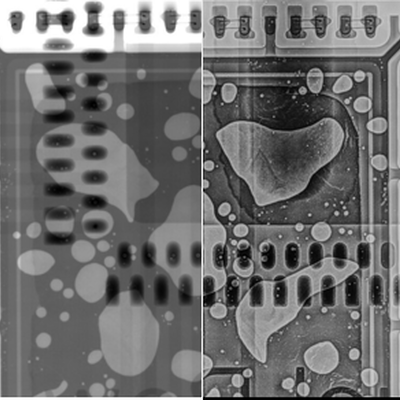
- Clear live image quality – the X-ray image enhancement ensures higher defect detection
- Live CAD data overlay
- Automated savings of results, images and X-ray sample maps
- CAD based programming
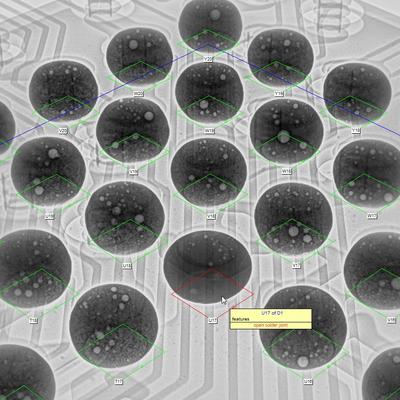
- Excellent, consistent image quality optmized for electronics applications
- Rendering of all relevant image data, optimized for the human eye
- Robust image processing and operator independent
- Easy to learn and use, One-Click-Solution at the operator and reviewer/verification levels
- Full visibility in all densities, viewing all the layers without manual adjustment
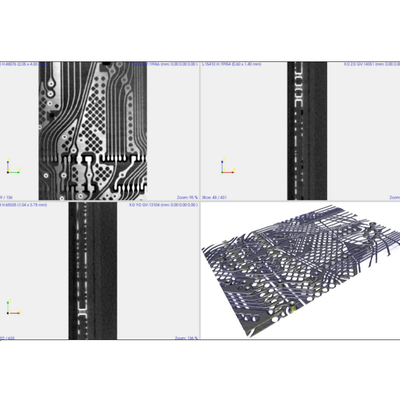
Datos|x is a comprehensive software package for computed tomography applications, controlling and monitoring all components of the CT system. This all-in-one software enables fast and easy 3D-CT inspection by combining all relevant procedures of CT imaging such as the creation of projection data sets, reconstruction of volumes as well as visualization of volumes and projections.
- BGA|module: intuitive automatic BGA solder-joint evaluation
- VC|module: automatic voiding calculation software package
- C4|module: view based evaluation of round solder joints with background structure, such as C4 bumps
- ML|module: view based registration of multilayer printed circuit boards
- X|act BGA & PTH check strategy: automated CAD based analysis of solder joints
- Optional:
- Solder-joint inspection module pack: Automated QFP|QFN|PTH evaluation
- X|act review: visual interface for rework and failure indication
- Flash! Electronics: Waygate’s exclusive image optimization technology, optimized for electronics application
Rotation table as default
- Optional XY table increases inspection area to 510 mm x 510 mm (20’’ x 20’’) without rotation and OVHM
- Optional Tilt/rotation unit enables tilt ± 45° and rotation n x 360° for samples up to 2 kg
- Optional laser crosshair for easy and faster positioning
- Optional PCB holder for rotation table - max. board size 310 mm x 310 mm (12’’ x 12’’)
- Maximum sample size 510 mm x 510 mm (20” x 20”)
- Maximum inspection area 410 mm x 410 mm (16” x 16”)
- Maximum detail detectability is ≥ 0.5 μm
- Maximum sample weight is 5 kg / 11 lbs
- Compact size: dimension 1800 mm x 1900 mm x 1430 mm (70.9“ x 74.8“ x 56.3“) and weight 2050 kg (4520 lbs) fits most workplaces


