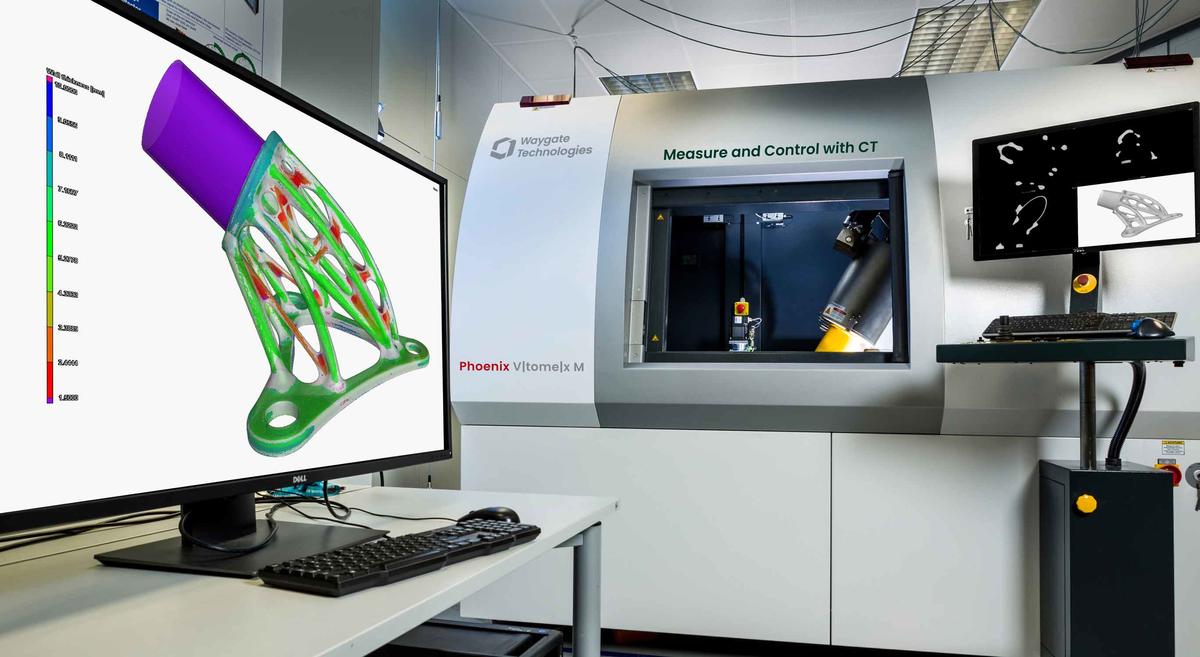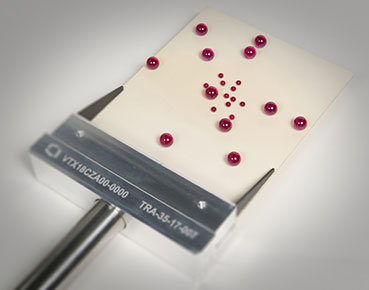
Exclusively available in Waygate Technologies' Phoenix V|tome|x premium performance CT system family, True|position and Easy|calib technology expand the measurement positions with specified accuracy to all positions which can be verified with the innovative patented Ruby|plate calibration phantom.
3D Computed Tomography metrology starts here
Thanks to the patented Ruby|plate calibration phantom with its calibration uncertainty of less than 1 micrometer, for our V|tome|x M even at a maximum probing length of 130 mm, not only a high measurement accuracy of up to SD ≤ (3.8 + L/100 mm) µm for both positions referring to VDI 2630-1.3 guideline can be specified, but also remarkable SD ≤ (5.5+ L/50 mm) µm for all other positions besides the VDI positions can be reached within the V|tome|x M premium CT scanner. Additionally, by applying the fully automated Easy|calib, the VDI specification SD ≤ (3.8 + L/100 mm) µm can be met at any position with just a few minutes of calibrating.
With the largest Ruby|plate 240 for our Phoenix V|tome|x C450 is also possible to measure large, complex objects with an accuracy specification of SD ≤ (15 ± L/50 mm) µm in accordance with VDI 2630.
Due to highly automated routines, the new Ruby|plate calibration phantom and True|positions' compensation of remaining mechanical positioning uncertainties as well as correction of thermal effects by using temperature sensors, these proprietary innovations bring CT metrology workflows and precision to a new performance level.
Phoenix V|tome|x M microCT scanner:
SD ≤ (3.8 ± L/100 mm) µm referring to VDI 2630 guideline
SD ≤ (5.5 ± L/50 mm) µm or all other positions besides the VDI positions
SD ≤ (3.8 ± L/100 mm) µm at any position when applying the fully automated Easy|calib tool
Phoenix V|tome|x C minifocus CT scanner:
SD ≤ (15 ± L/50 mm) µm at both VDI 2630 positions and, after applying Easy|calib, at any position
Product Highlights

- Optimized Ruby|plate calibration phantom for each systems to support best accuracy level
- Enables users to perform VDI 2630 compliant precision metrology
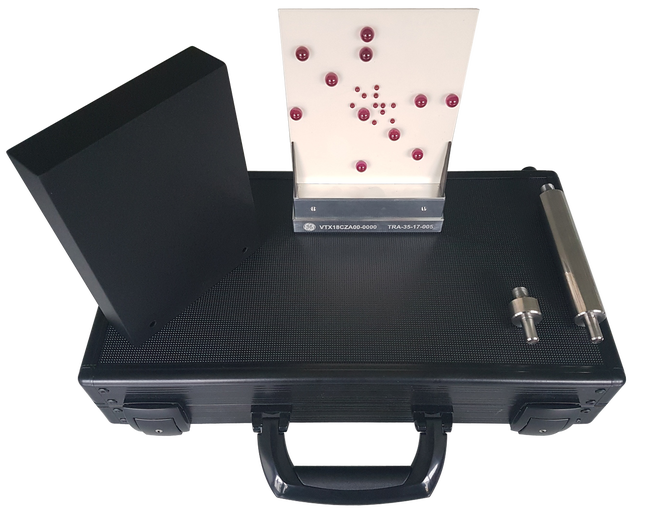
3x faster VDI 2630 1.3 specifications conform performance verification: Thanks to the greatly simplified verification with the new, patented Ruby|plate phantoms
The process can be reduced from 18 to 6 required scans compared to conventional Ball|bar phantom
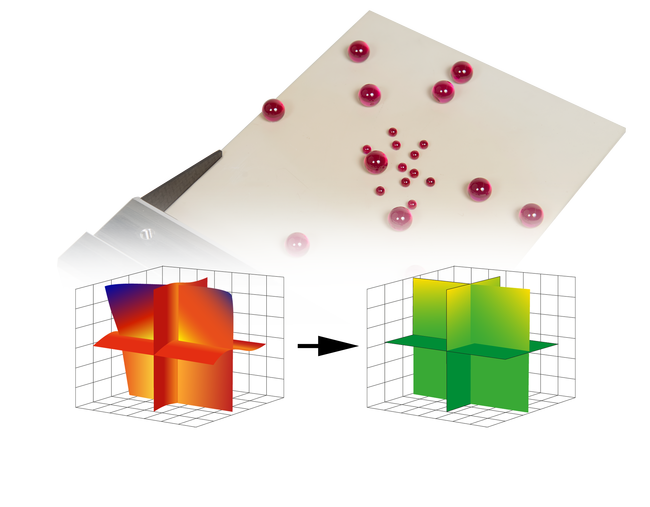
Faster and easier CT setup for precision metrology tasks performed with specified accuracy at multiple positions
Benefits

Patented calibration phantom design with ruby spheres on a ceramic plate for fast and reliable VDI 2630-1.3 verification and voxel-size calibration

Laser-based compensation method for residual mechanical uncertainties of the system manipulator expands the measurement positions with specified accuracy

Automatic calibration for exact measurement of Focal-Object-Distance (FOD) and Focal-Detector-Distance (FDD).
Automated tool for fast system calibration to ensure VDI 2630 specification at any position within the CT system.
Temperature sensor to to compensate thermal drift.
Technical Specification
The patented Ruby|plate allows a 3x faster automated verification of the specified measurement accuracy (SD) according to VDI 2630 1.3 (compared to current technology): All directions and length required by the guideline are covered by its ruby spheres alignment on ceramic plate in just one scan.
Waygate Technologies´ innovative metrology features such as True|position or Easy|calib allow users to quickly and easily determine the systems´ geometry at any point, ensuring the ability to automatically correct any deviations and maintain conformance with the VDI 2630 standard. For our premium metrology CT scanner Phoenix V|tome|x M, applying those features means to reach SD ≤ (3.8 ± L/100 mm) μm not only at both VDI positions, but at any position. For our customers combination of maximum flexibility, reliability and precision is a big benefit.
By scanning the Ruby|plate phantom and applying our fully automated validation processes, our customers themselves are able to specify their systems´ measurement uncertainties in less than 10 minutes.
Yes, our Ruby|plate 240 calibration phantom is the largest of its kind on the market, enabling users of our 450 kV minifocus Phoenix V|tome|x C450 CT scanner to scan e.g. light metal castings with a precision specification of SD ≤ (15 ± L/50 mm) µm at both VDI 2630 positions and, after applying Easy|calib, at any position.
Yes, when ordering your system, you do not need to order the Metrology|edition configuration yet. All actual and most Phoenix V|tome|x M and C systems built in the past years can later be upgraded for higher metrology performance.


