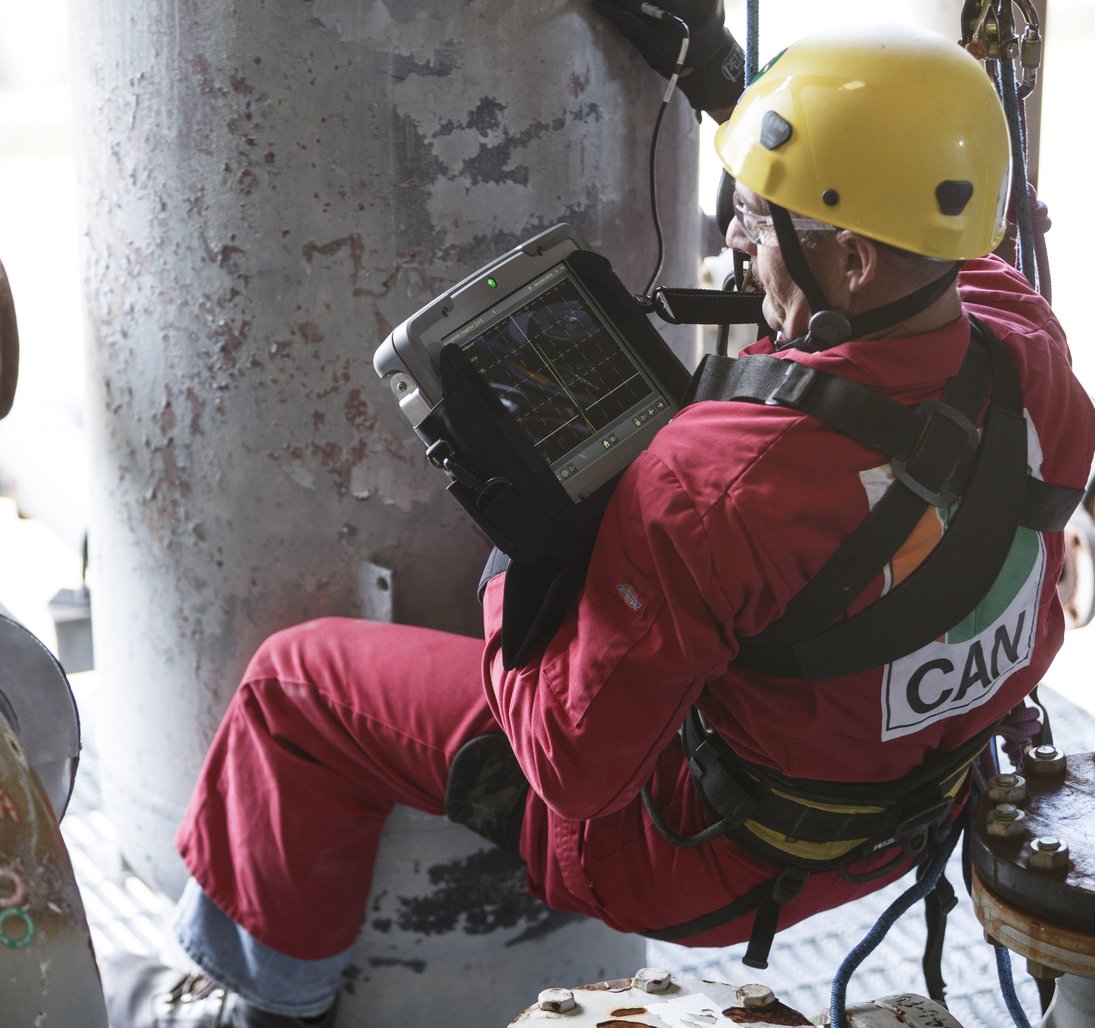
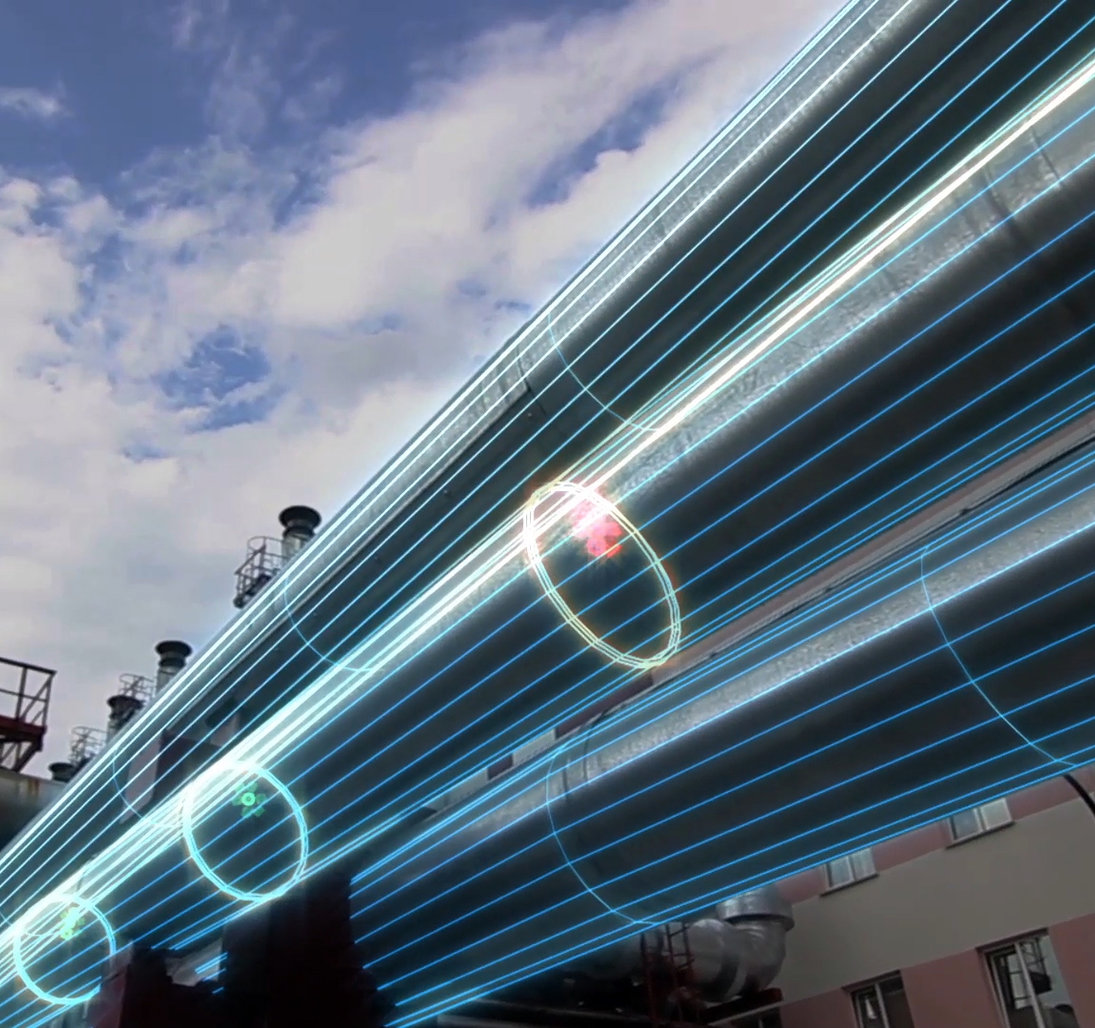
Le terme essais non destructifs (END) se rapporte à un large éventail de méthodes de contrôle ou de test qui permettent aux inspecteurs d'évaluer et de collecter des données sur les matériaux, les composants, les soudures, les systèmes ou les assemblages, sans les altérer de manière permanente ni les endommager.
Waygate Technologies est un leader mondial des produits destinés à vos processus industriels d'essais non destructifs (END), de contrôle non destructif (CND) ou d'inspection non destructive (IND). Nos offres de produits incluent des solutions d'équipement et de service de pointe pour les END, destinées à vos tâches de contrôle radiographique, par courants de Foucault, par ultrasons et de contrôle visuel à distance.
Nous proposons les meilleures performances de détection et sommes à la pointe de l'innovation technologique, ce qui nous vaut la confiance de nos clients des secteurs de l'aéronautique, de l'électronique, de l'automobile, des batteries, de la fabrication additive et de l'énergie.
Des solutions CND pour relever vos défis
En tant que leader dans le domaine des essais non destructifs, Waygate Technologies propose des services flexibles et innovants adaptés à tous vos besoins. Nos solutions CND sont conçues pour anticiper et répondre aux défis inattendus des industries les plus exigeantes, vous permettant ainsi de garder une longueur d'avance.
Assistance 24/7 avec services à distance
Waygate Technologies offre le meilleur support de l'industrie grâce à ses contrats de service à distance (RSA) et ses contrats de service d'assistance (SSA). Notre équipe d'experts est prête à vous aider dans tous les domaines, du diagnostic des problèmes à l'identification des pièces détachées. Grâce au dépannage à distance, nous diagnostiquons rapidement les problèmes et apportons des solutions rapides, minimisant ainsi les temps d'arrêt et évitant les visites d'entretien inutiles. Cela garantit le bon déroulement de vos opérations, maximise le temps de fonctionnement et vous permet de reprendre vos activités plus rapidement.
Un équipement CND à la pointe de l'industrie
Lorsque vous êtes confrontés à des défis d'inspection critiques, Waygate Technologies vous couvre avec des solutions CND de pointe. Nos technologies avancées de radiographie, d'inspection vidéo, d'ultrasons et de courants de Foucault fournissent des résultats fiables et précis, vous aidant à identifier et à résoudre rapidement les problèmes. Cela garantit que vos opérations restent sûres, efficaces et productives, en minimisant les risques et en évitant les temps d'arrêt coûteux.
Des solutions qui soutiennent votre transformation numérique
Lorsque la transformation numérique est cruciale, Waygate Technologies montre la voie en matière de CND. Nos outils logiciels avancés éliminent les barrières traditionnelles, en i en toute transparence.
Pourquoi Waygate Technologies ? 120 ans d'expertise
Avec plus de 120 ans d'expérience dans le domaine du contrôle non destructif (CND), Waygate Technologies s'est associé à des leaders mondiaux dans divers secteurs pour établir les normes industrielles les plus élevées en matière de contrôle non destructif (CND). Nos produits ont toujours donné des résultats exceptionnels dans les industries les plus exigeantes du monde :
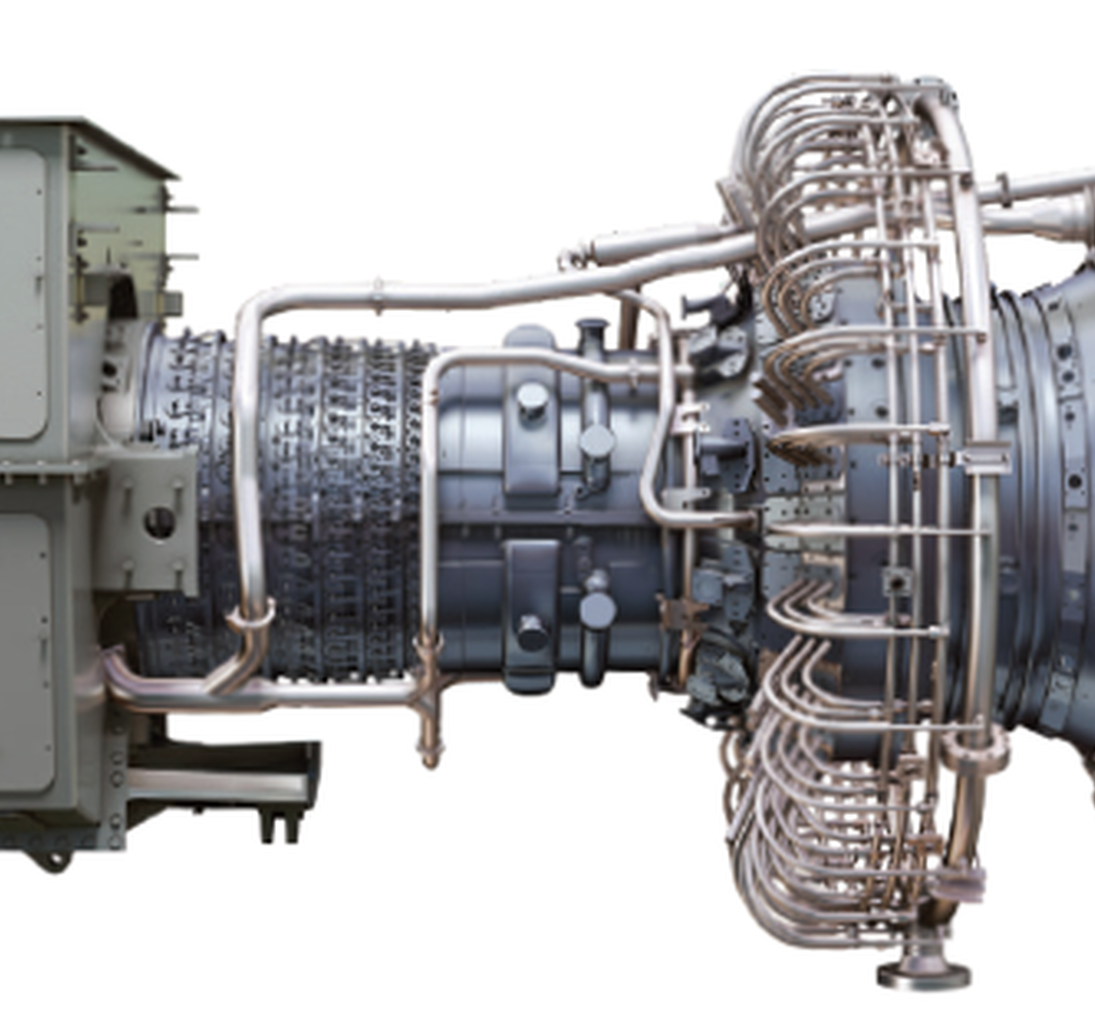
L'aérospatiale : Waygate Technologies a renforcé la sécurité dans l'aérospatiale en optimisant la vision industrielle et l'automatisation pour l'inspection des turbines en collaboration avec GE Aerospace. Ce partenariat a permis d'améliorer de manière significative la vitesse et la précision de la détection des problèmes potentiels dans les composants critiques des turbines, garantissant ainsi des normes de performance et de sécurité élevées.
Énergie nucléaire : Waygate Technologies a renforcé l'industrie nucléaire en fournissant des solutions CND avancées qui garantissent l'intégrité des infrastructures critiques. Nos technologies aident à prévenir les risques potentiels pour la sécurité, contribuant ainsi à des opérations nucléaires plus sûres et plus efficaces dans des environnements très réglementés.
Recherche sur les batteries et applications de haute précision : Waygate Technologies a relevé le défi de l'inspection des matériaux des batteries à un niveau microscopique. En collaboration avec Thermo Fisher Scientific, nous avons développé des solutions qui permettent des inspections précises du micron au niveau atomique, ce qui est essentiel pour faire progresser la technologie des batteries et garantir leur sécurité et leur performance.
Nos technologies innovantes continuent de repousser les limites des essais non destructifs, aidant nos partenaires à atteindre les objectifs élevés qu'ils se sont fixés en matière d'essais non destructifs.
Explore Our Portfolio
Non-Destructive Testing (NDT) also known as Non-Destructive Examination (NDE) refers to any type of non-invasive inspection technology used to inspect an object without damaging it in any way.
While there are several types of NDT/NDE, it is generally understood that these methods are capable of identifying the presence of damage or the mechanisms that may cause damage such as cracks, corrosion, ineffective welds, part misalignment, and so on.
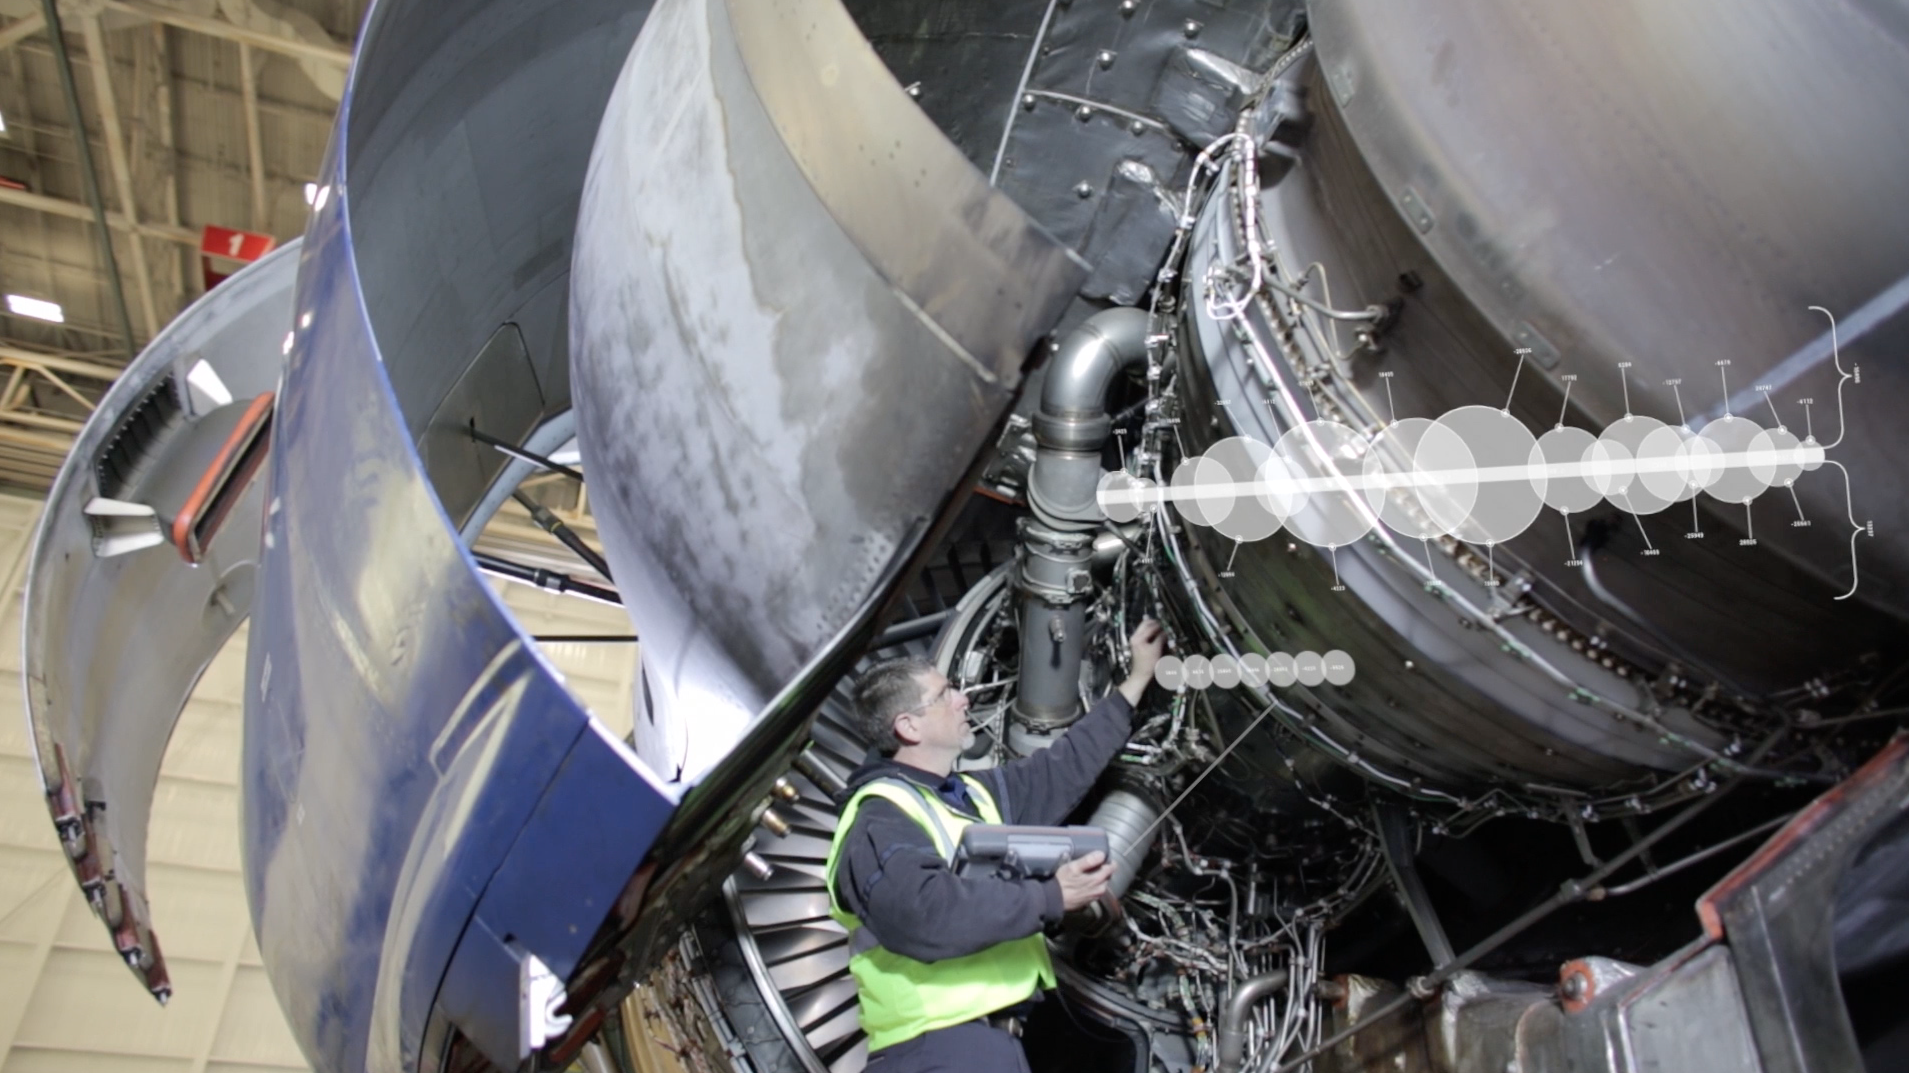
As the name would suggest, Destructive Testing does in fact damage the sample in question, typically through deformation as the result of a stress test for tensile strength, bend strength, mechanical cutting, or the like. Non-Destructive Testing, as stated earlier, allows you to test your part without causing any damage as a result of testing or inspection.
This allows you to preserve your production sample, or in the case of equipment that is already in service, to keep that equipment if it is deemed to be fit. Destructive testing will result in an unusable part by virtue of the testing process, even if it was free of defects prior to testing.
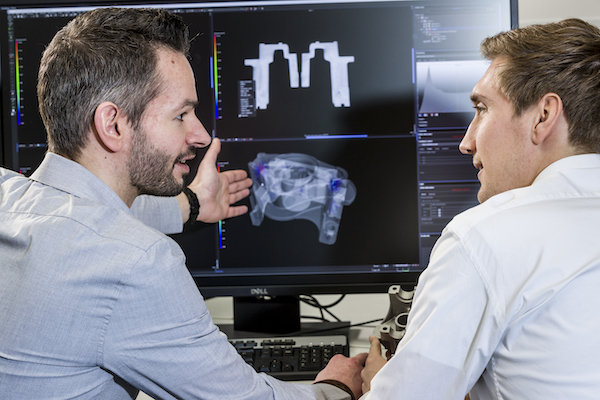
Non-destructive testing brings with it many advantages over traditional testing methodologies. NDT can save your organization time and money in many ways, such as:
- No wasted samples, as there are no samples. 100% of your production remains devoted to end-use.
- No removal of parts or production shut down in some cases which not only saves time and money but also affords testing of a component as it resides installed within its system and all the unique loads and stresses that come with that application - something you cannot reliably replicate with DT.
- Predictive maintenance - as part of a predictive maintenance strategy, NDT can oftentimes be employed to identify areas of concern before they lead to a problem or failure.
- Better end products thanks to advanced imaging technologies and accompanying software that enables you to see flaws in greater detail - so you can reverse their effects sooner in the production cycle and optimize your production processes to avoid scrap and recalls.
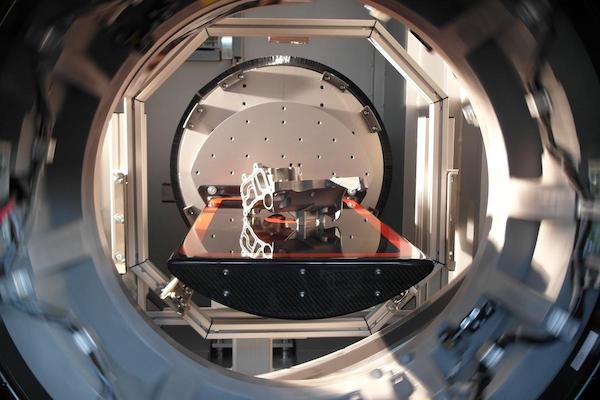
There are numerous applications where non-destructive testing makes sense, but industries that rely on NDT to a large degree are:
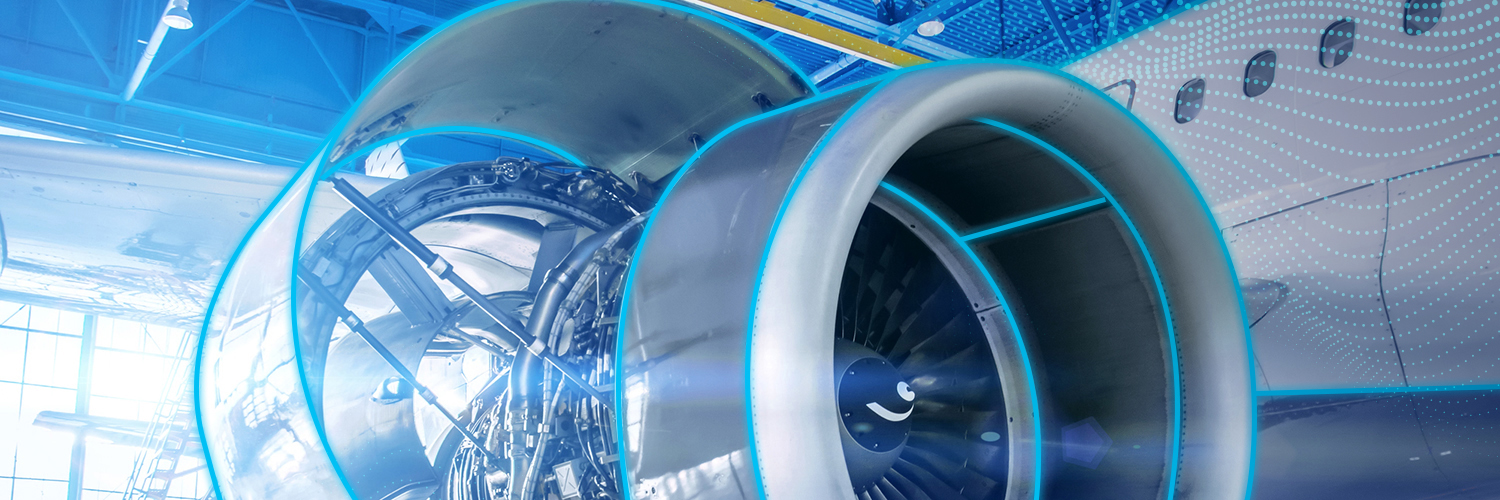
While there is no single solution that trumps all other non-destructive testing technologies, some do lend themselves to specific tasks, such as Computed Tomography (CT) for casting, 3D printing, and additive manufacturing, ultrasoundfor corrosion management, or eddy current testing for coating thickness, welds, heat treatment, and the like.
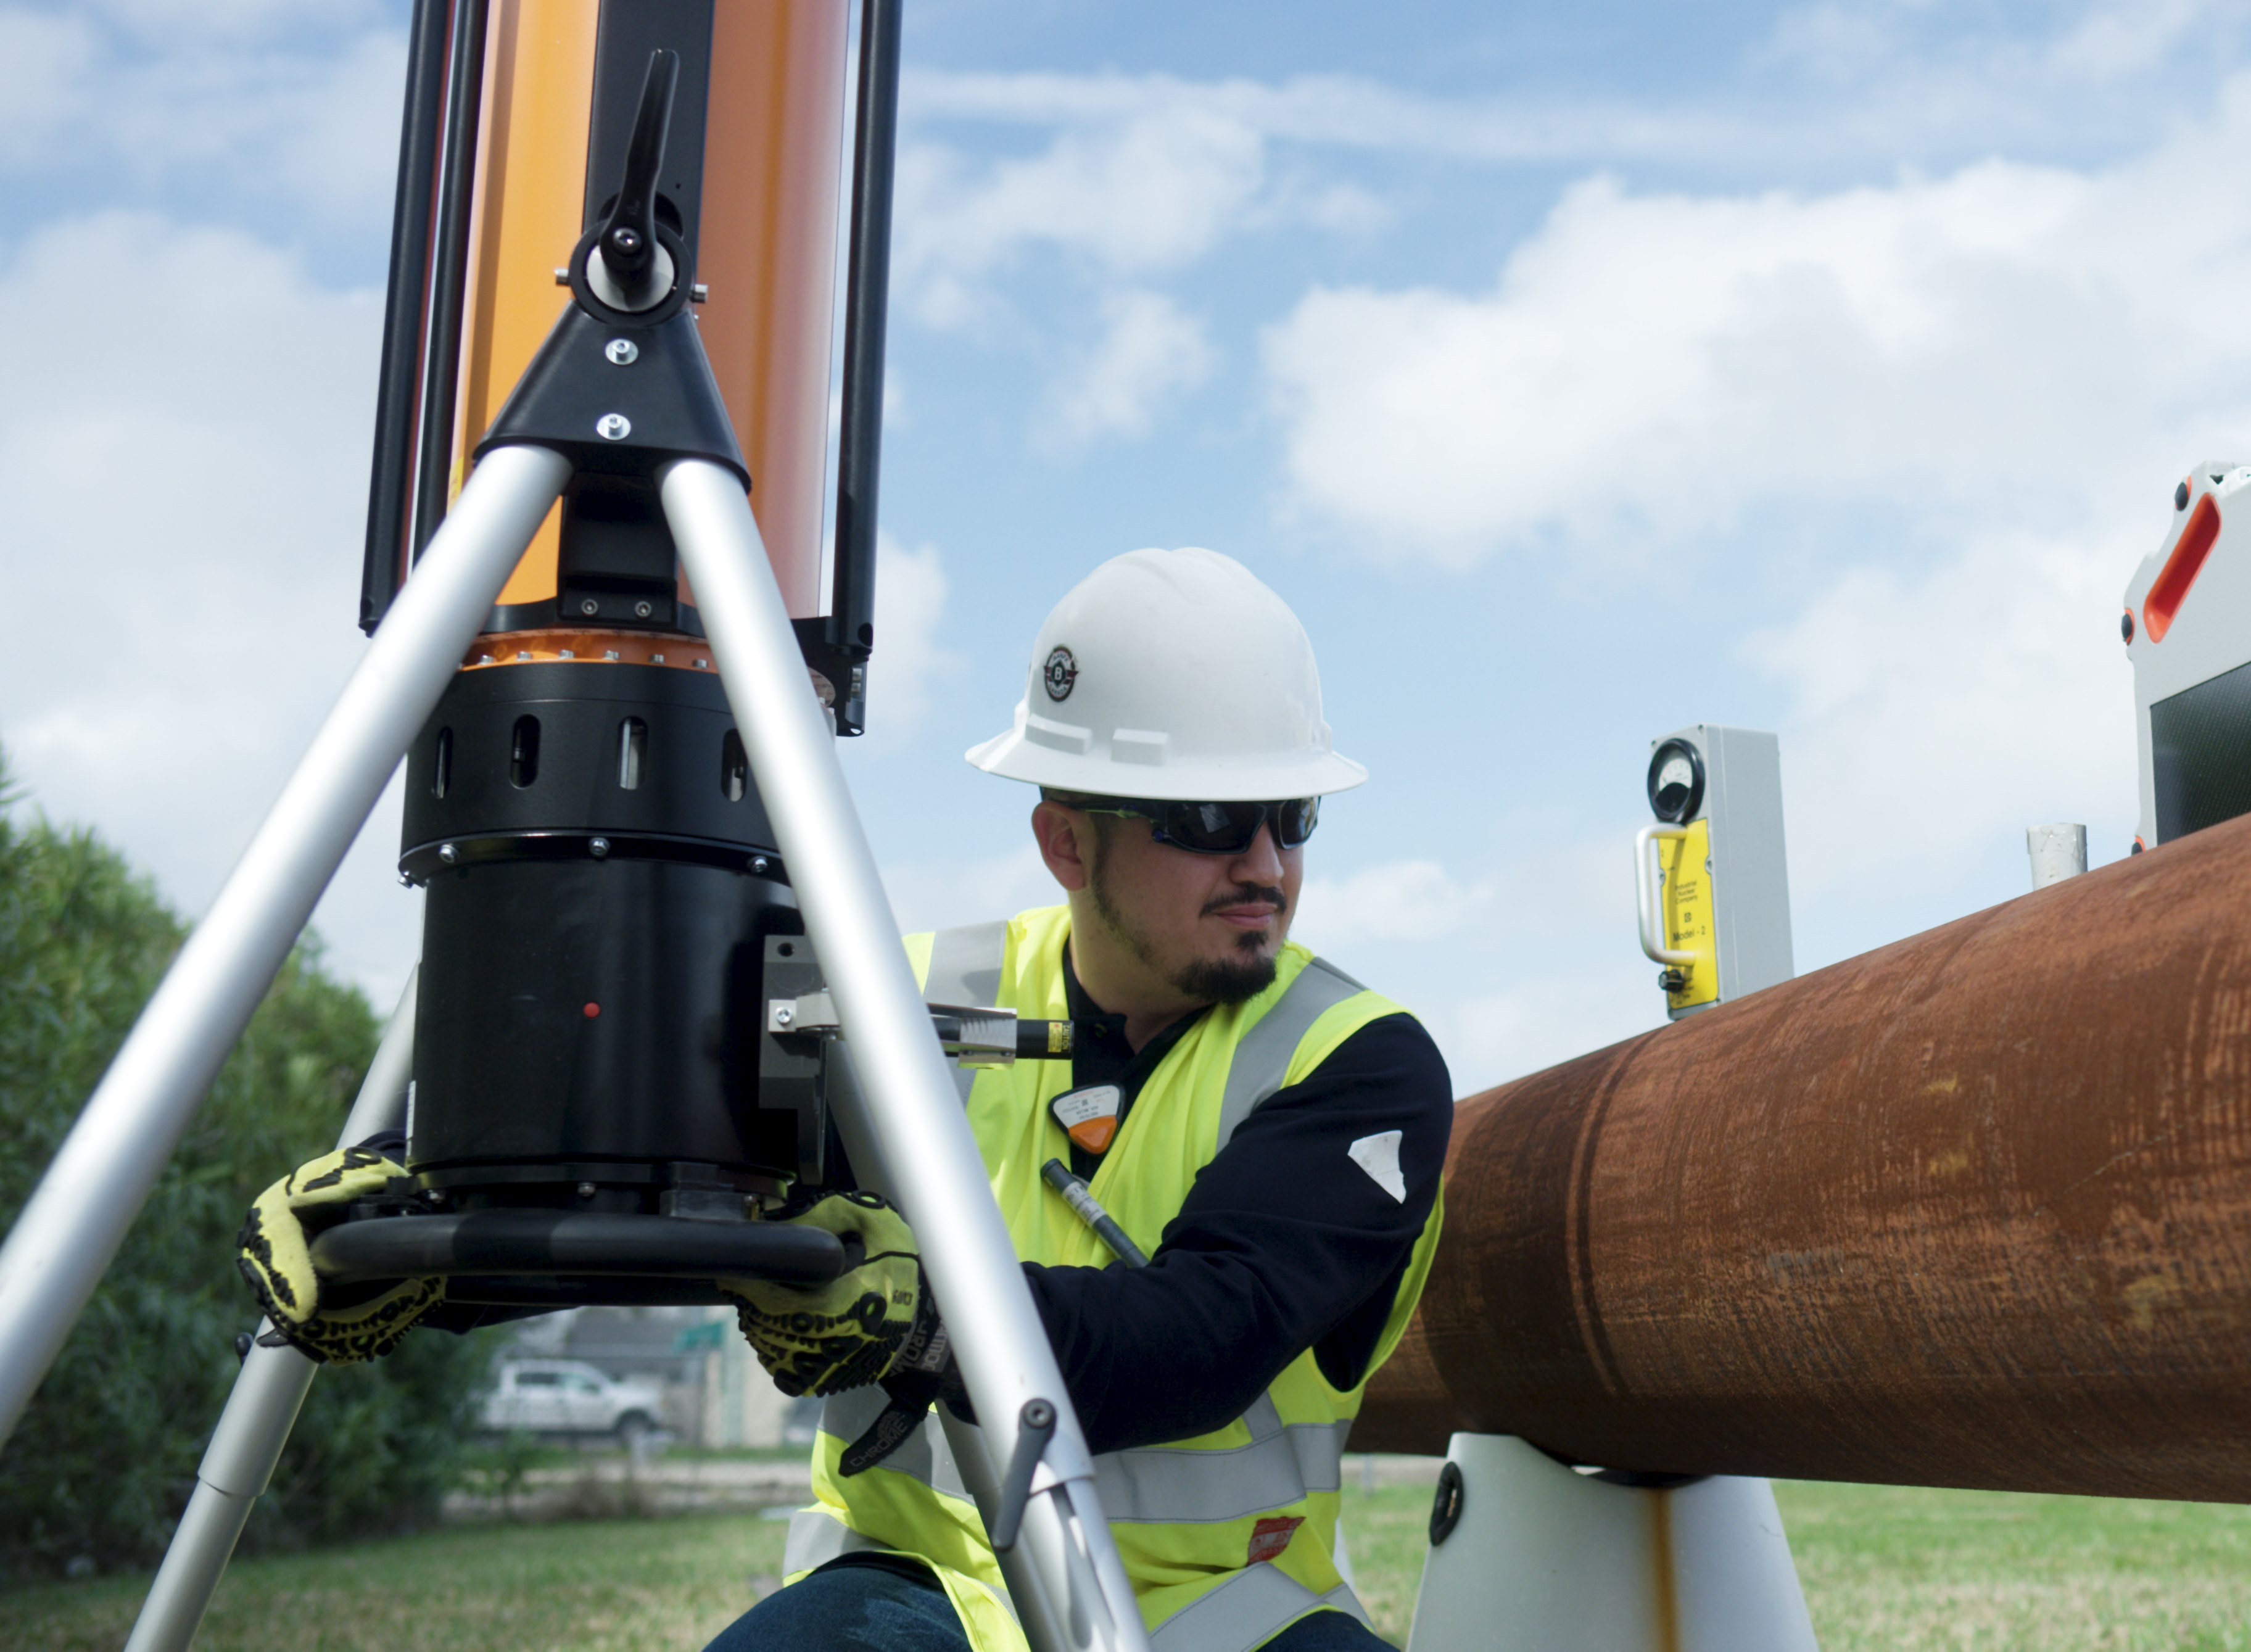
Radiographic testing - a form of non-destructive testing (NDT) - typically employs gamma or x-rays to examine manufactured parts for any flaws or defects that would otherwise go undetected with a visual inspection.
A two-part inspection solution, radiography employs a generator which, as the name implies, generates the X-rays that will pass through the sample, and a detector that captures the rays and the resulting image for inspection:
- Microfocus X-ray Tube - In an evacuated tube electrons are emitted from a heated filament and are accelerated towards the anode by the potential difference UACC. Electrons enter through a hole in the anode into a magnetic lens which focuses the electron beam to a small spot of a few microns in diameter on the target. The target consists of a thin layer of tungsten deposited on a diamond or light metal plate which also serves as an exit window for the X-radiation (transmission tube). In the tungsten layer, the electrons are abruptly decelerated whereby X-rays are generated. Hence, the focal spot represents a very small X-ray source which enables the sharpest imaging with micrometer resolution even at high magnification. The latest nanofocus tubes achieve a detail detectability down to 200 nanometers (0.2 microns) by using multiple electron lenses. The electron beam current is controlled by the bias voltage UG via the Wehnelt electrode. A set of deflection coils aligns the electron beam with the optical axis of the lens. Since the focal spot is located at a short distance of merely 0.4 mm from the outer surface of the exit window, the cone of X-rays spreads over an angle of 170°.
- Digital Detector Array - The X-ray shadow image is converted by a scintillator foil to visible light which is directly detected by a photodiode array. The main advantages of this technique are the undistorted image as well as the high dynamics and the superior contrast resolution. The latest temperature stabilized high dynamic DXR digital detector array technology ensures brilliant live imaging with up to 30 frames per second.
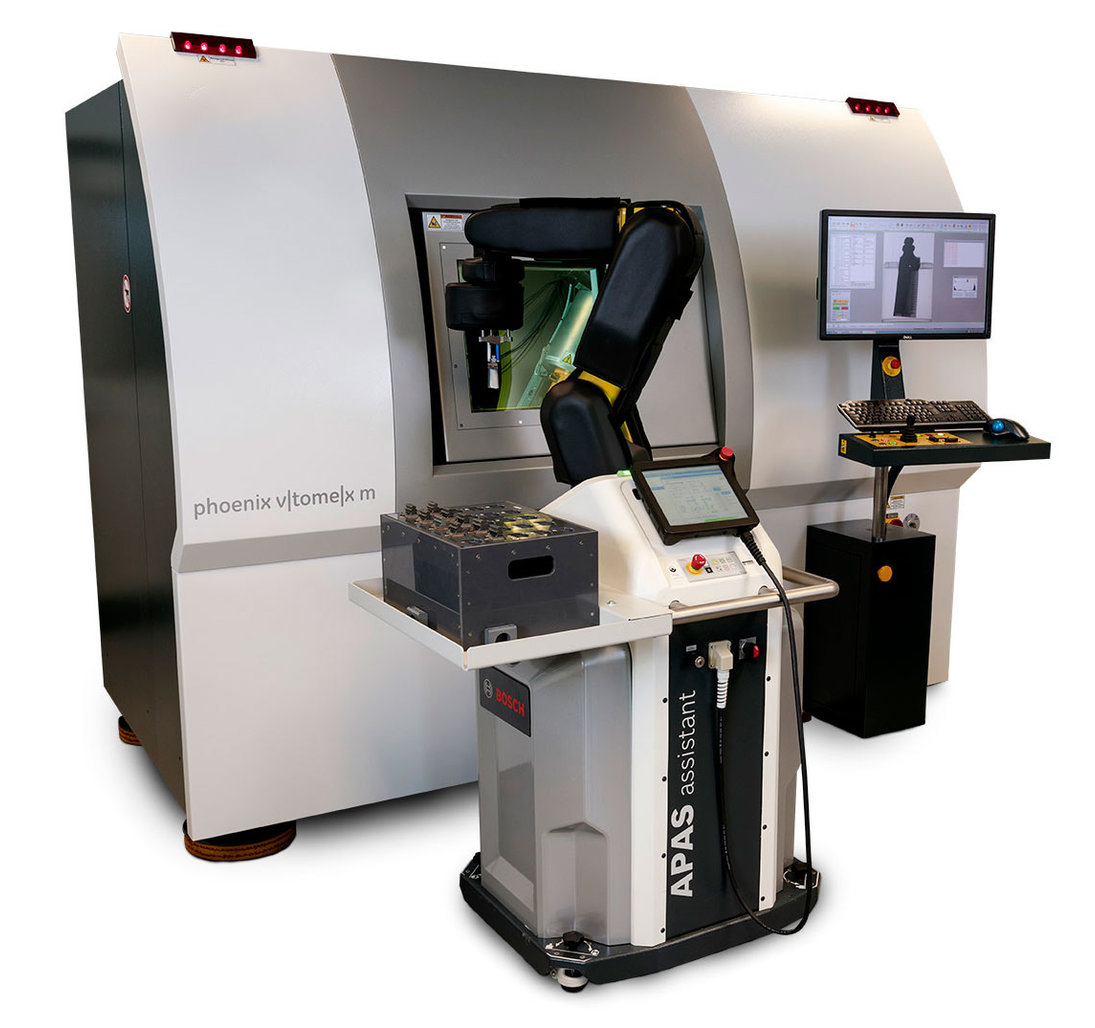
Popular solutions in the industrial space are portable, field-ready generator/detector solutions such as those used in the inspection of Oil & Gas pipelines, and the larger, laboratory and/or production floor X-ray inspection and computed tomography (CT) systems as seen in the Automotive, Aerospace, and Electronics Manufacturing industries, which offer a greater degree of precision.
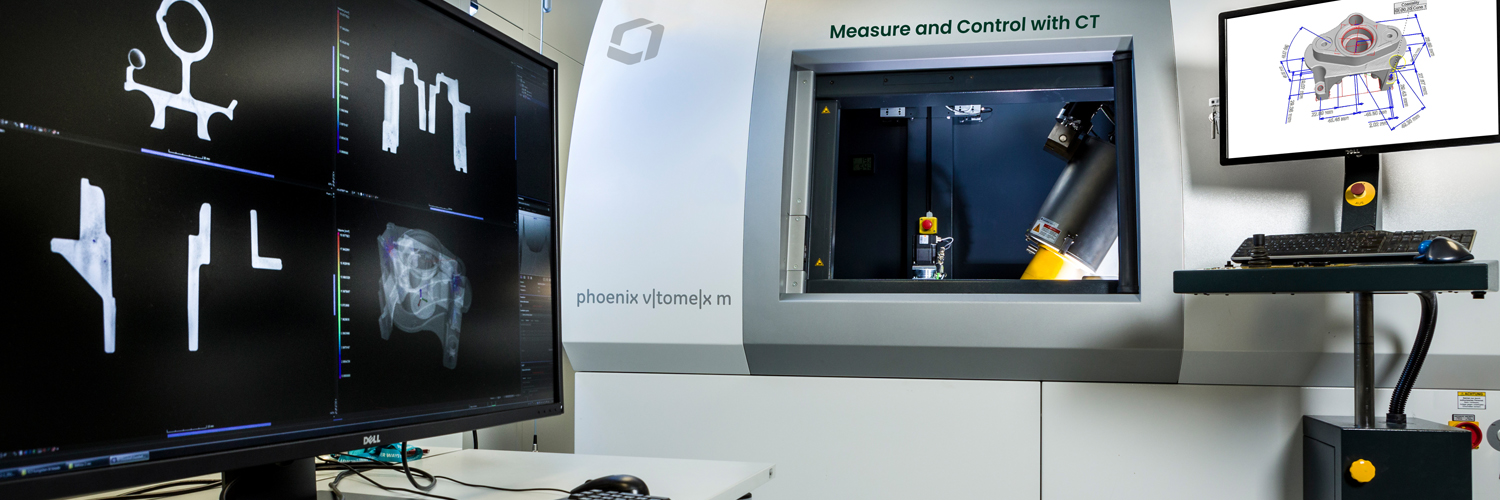
Computed Tomography is another form of non-destructive testing (NDT) that uses hundreds of X-ray images to create three-dimensional models of the internal and external structures within a scanned sample.
There are three types of scanners associated with industrial CT scanning, cone-beam, line-beam, and fast gantry-based helix:
- Cone-beam - Generating volumetric data using industrial cone beam CT starts with the acquisition of a series of two-dimensional X-ray images while progressively rotating the sample step by step through a full 360° rotation. These projections contain information on the position and density of absorbing object features within the sample. This accumulation of data is then used for the numerical reconstruction of the volumetric data.
- Line-beam - To ensure high CT data quality with reduced scattering artifacts at high X-ray energy, collimated line detector arrays are being used for CT data acquisition. For each slice, a set of X-ray line profiles is acquired while progressively rotating the sample step by step through a full 360° rotation. By vertically shifting the sample through the fan beam and repeating the procedure, a set of slices is compiled to obtain a representation of the volume.
- Fast gantry-based helix CT - At high-speed helix CT based on medical computed tomography technology, a gantry with an X-ray tube and corresponding line detector rotates around the workpiece being forwarded on a linear belt manipulator. To ensure the required image quality with short measuring times and low scattering artifacts, a highly sensitive multiline detector is being used. A typical casting workpiece is being scanned within 10-90 seconds. The numerical volume reconstruction starts automatically, even 3D evaluation tasks like automated defect recognition (3D ADR) including good/fail decisions can be performed fully automated.
Typical tasks for which CT is suited include flaw detection, metrology, failure analysis, and the like.
One of the key benefits of modern industrial CT solutions is the ability to employ part-to-part or part-to-CAD comparison where two models are overlayed and/or compared: one being the CAD file or a reference scan from a known good sample, and the other being the production sample being scanned. This level of detail and reference greatly enhances the rate of flaw detection and can be used for reverse-engineering and geometric dimensioning.
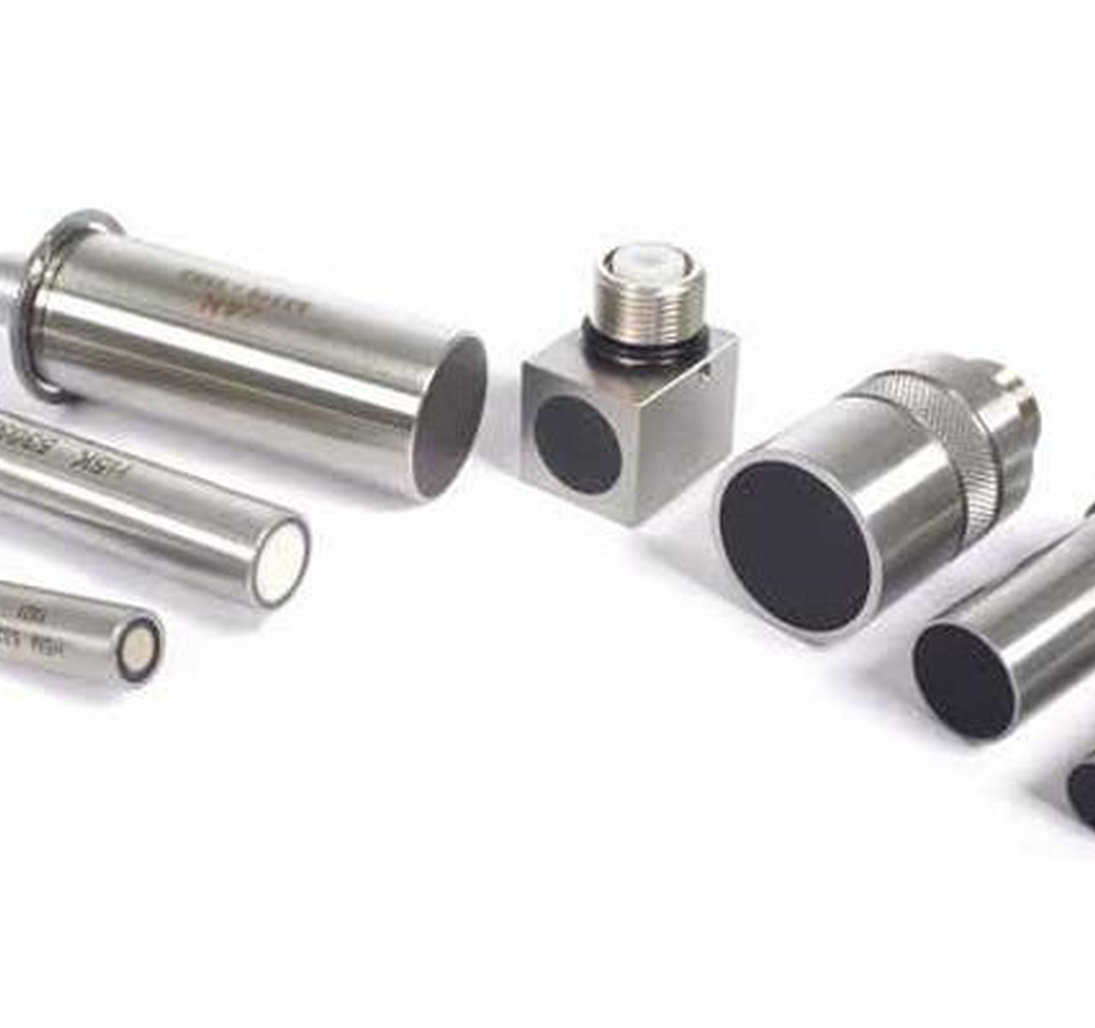
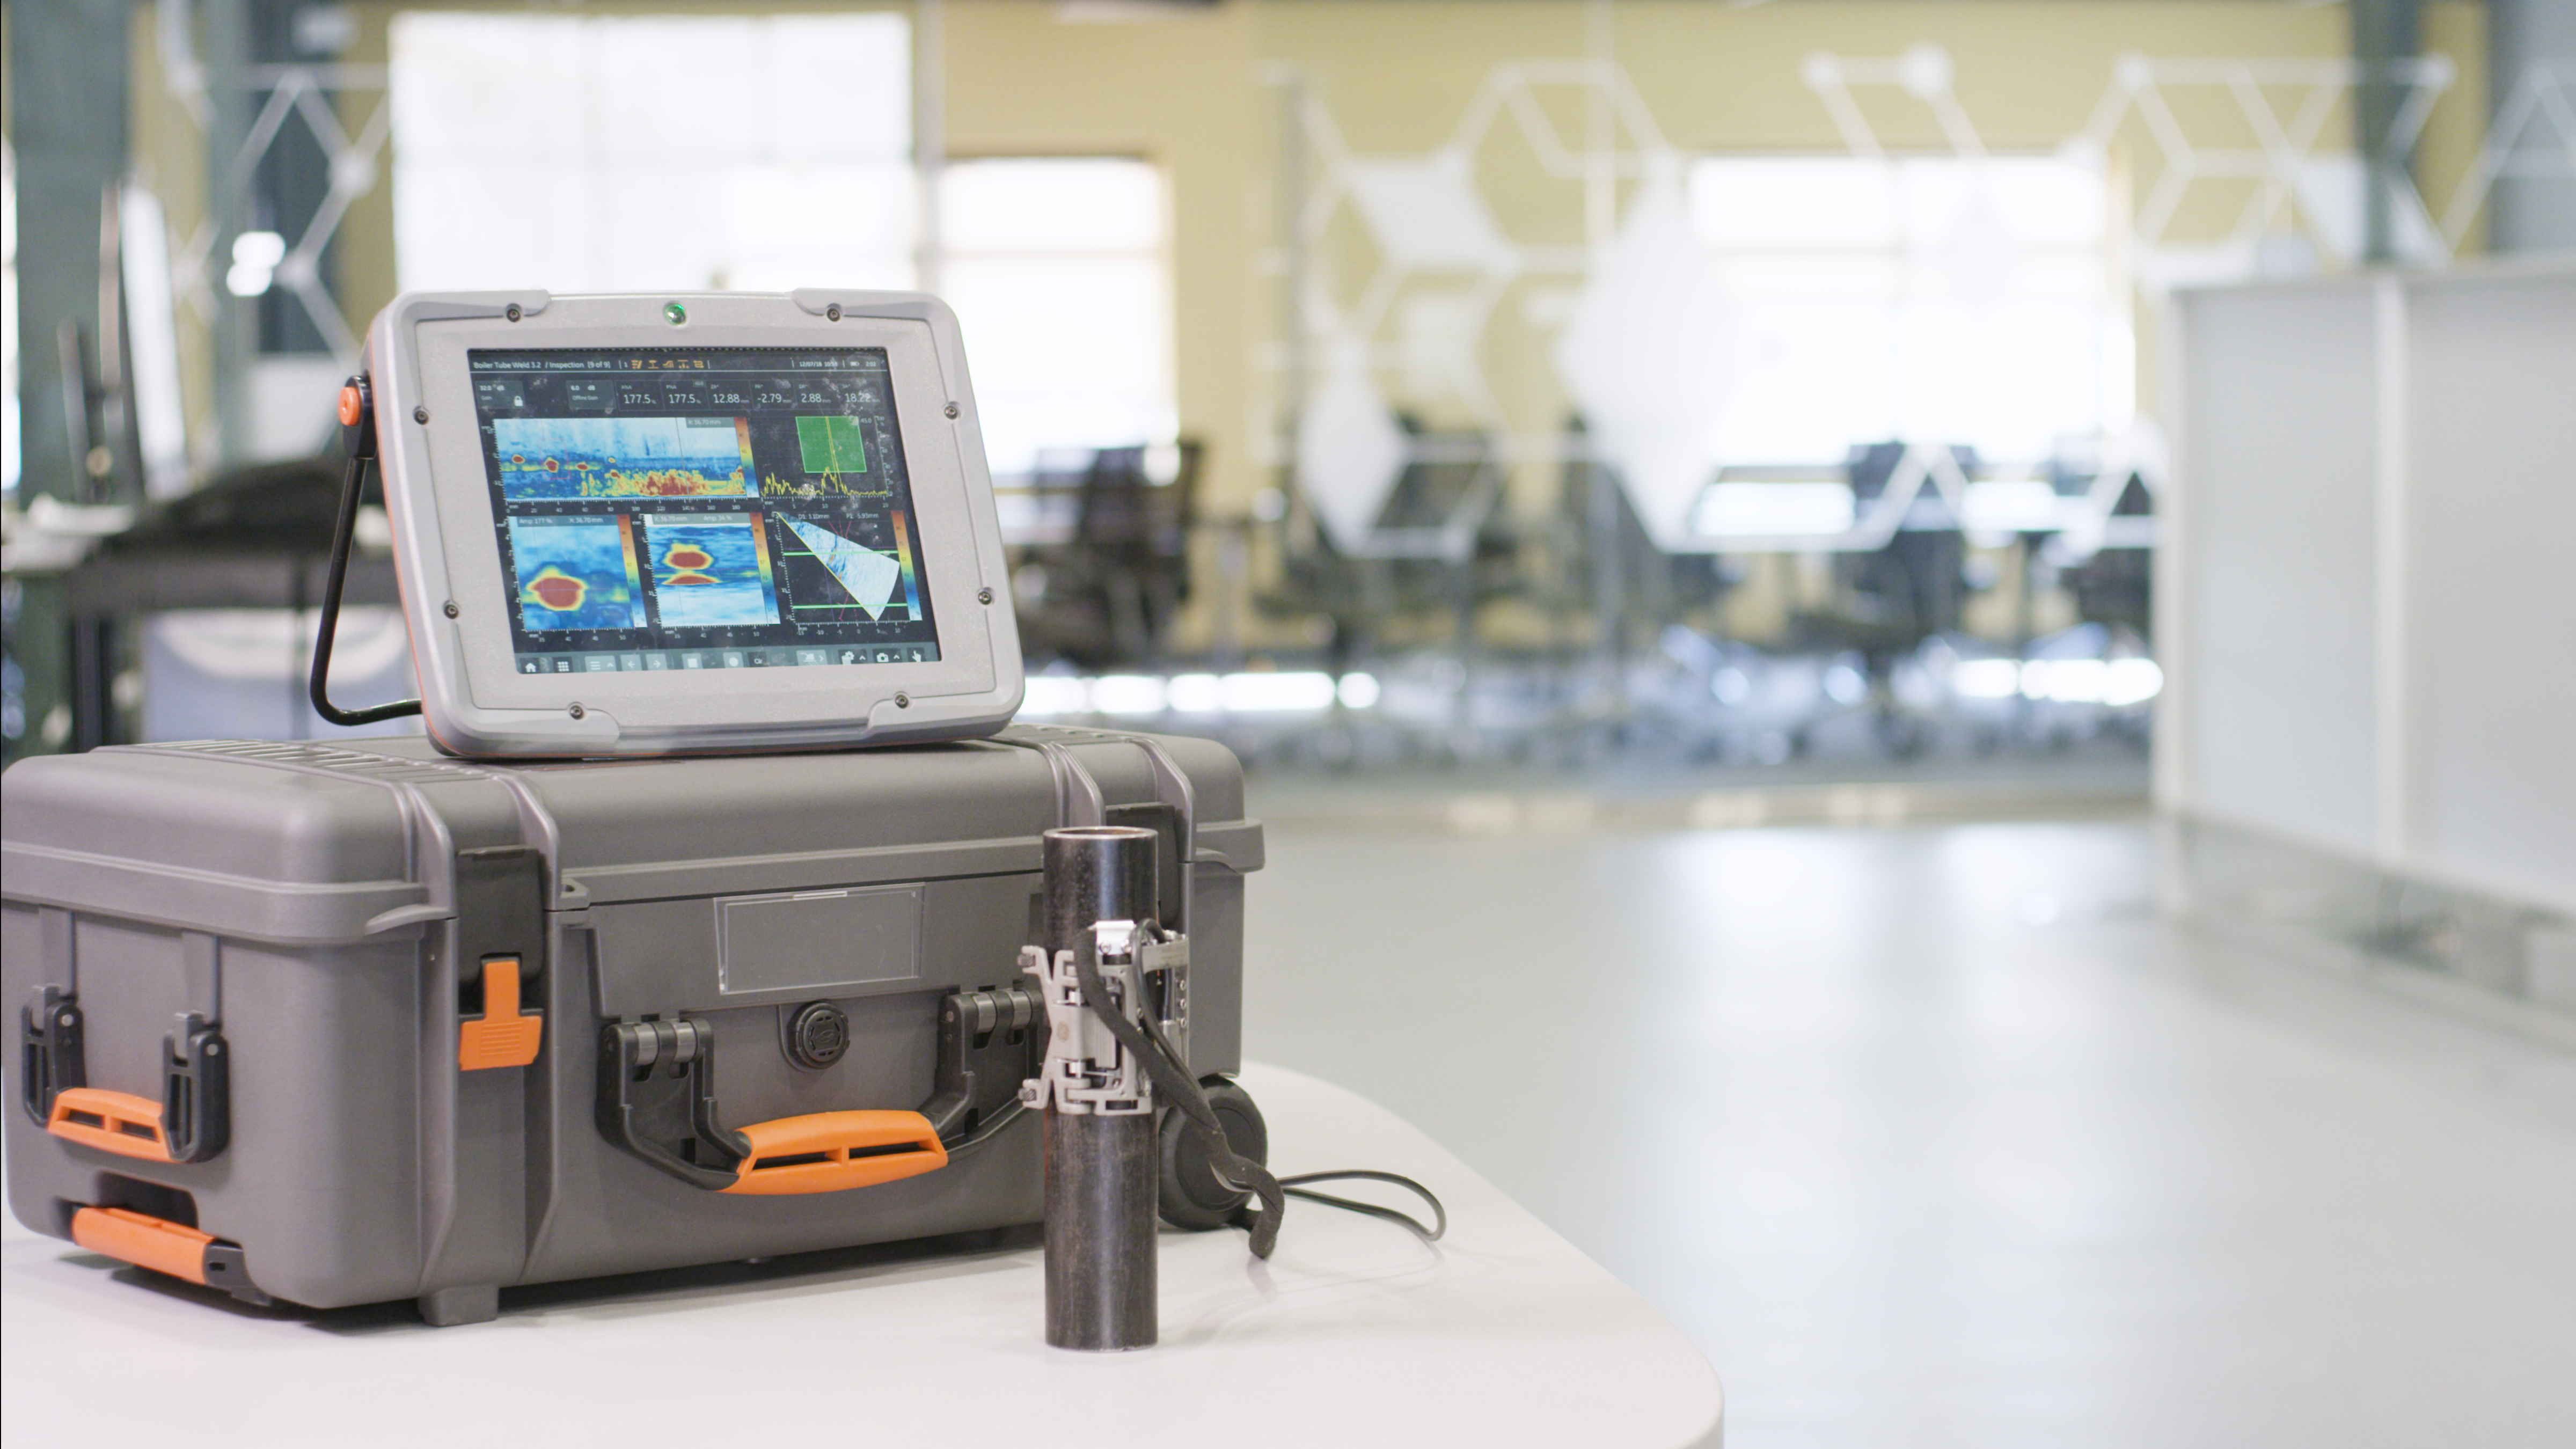
Ultrasonic Testing (UT) is another form of non-destructive testing (NDT) that employs ultrasonic waves which are transmitted into materials and samples to detect flaws such as cracks and tears and to measure thickness - an important measurement for welds, seams, and corrosion prevention in pipelines.
Automated Ultrasonic Testing (AUT) refers to the use of UT technologies where the transducers and receivers are driven by a mechanical system that ensures consistent measurements as well as the ability to repeat the test over and over. One popular application of AUT is in pipeline inspection, where a system can be clamped around the outside of a pipe and then walked or piloted down the length of the pipe collecting data along the way for analysis.
Phased Array Ultrasonic Testing (PAUT) is a UT solution that employs a series of phased array probes that allow for the beam to be focused and swept without physically moving the probe - which allows for scanning in tighter locations where traditional single-element systems may not fit, or where motion is otherwise limited, thus resulting in a smaller scan size. PAUT is one of the best solutions for defect detection where time is of the essence, and scanner mobility is impaired or impossible while simultaneously increasing your Probability of Detection (POD).
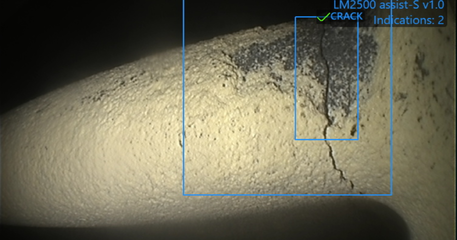
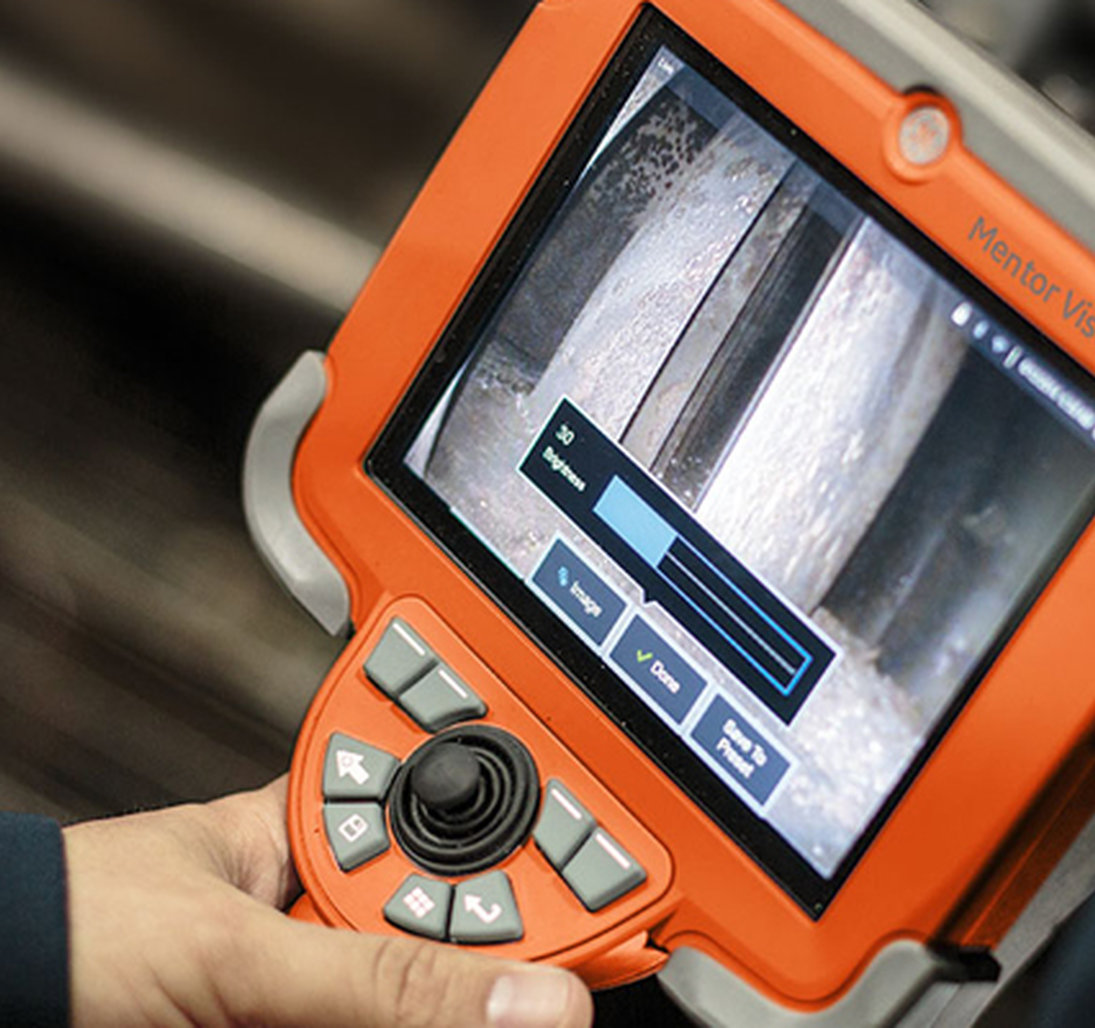
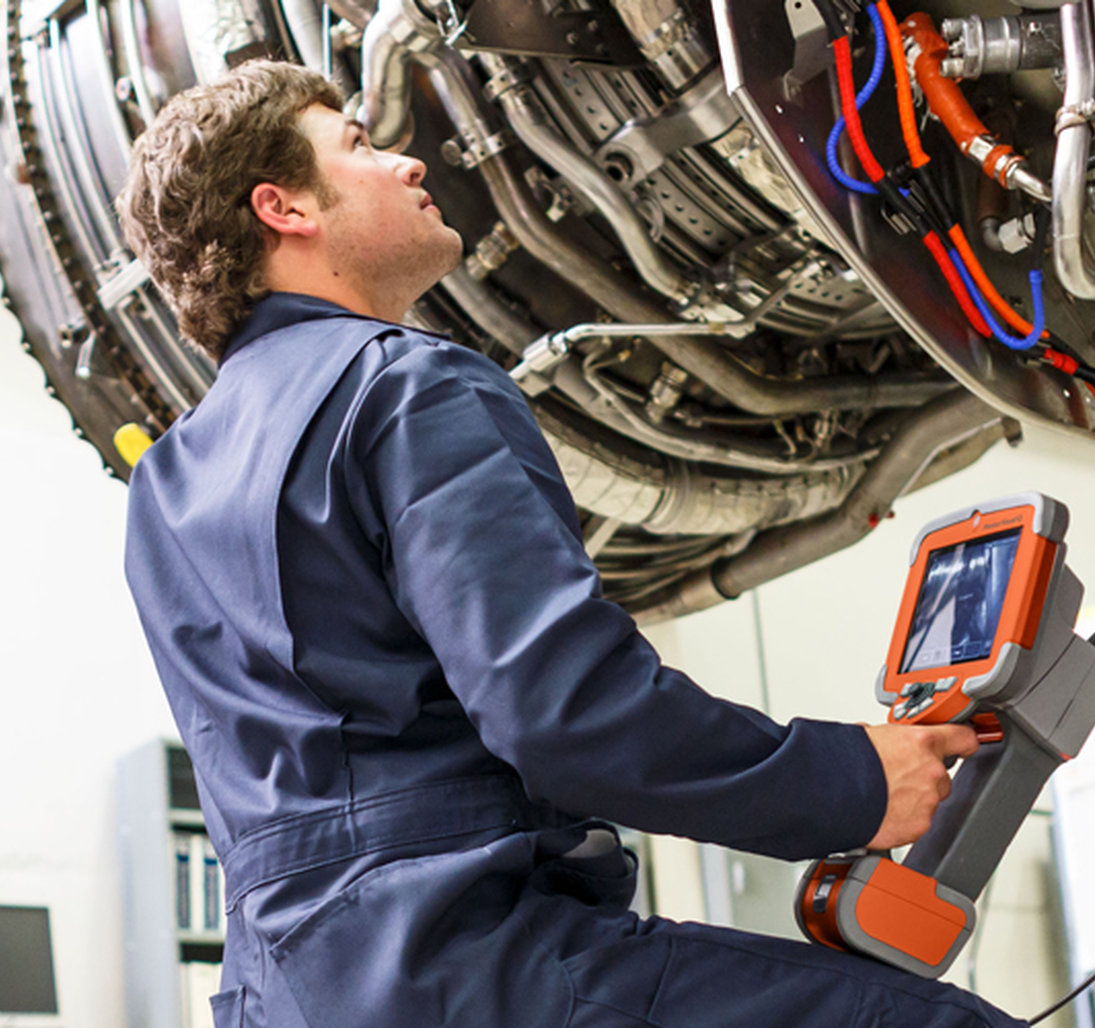
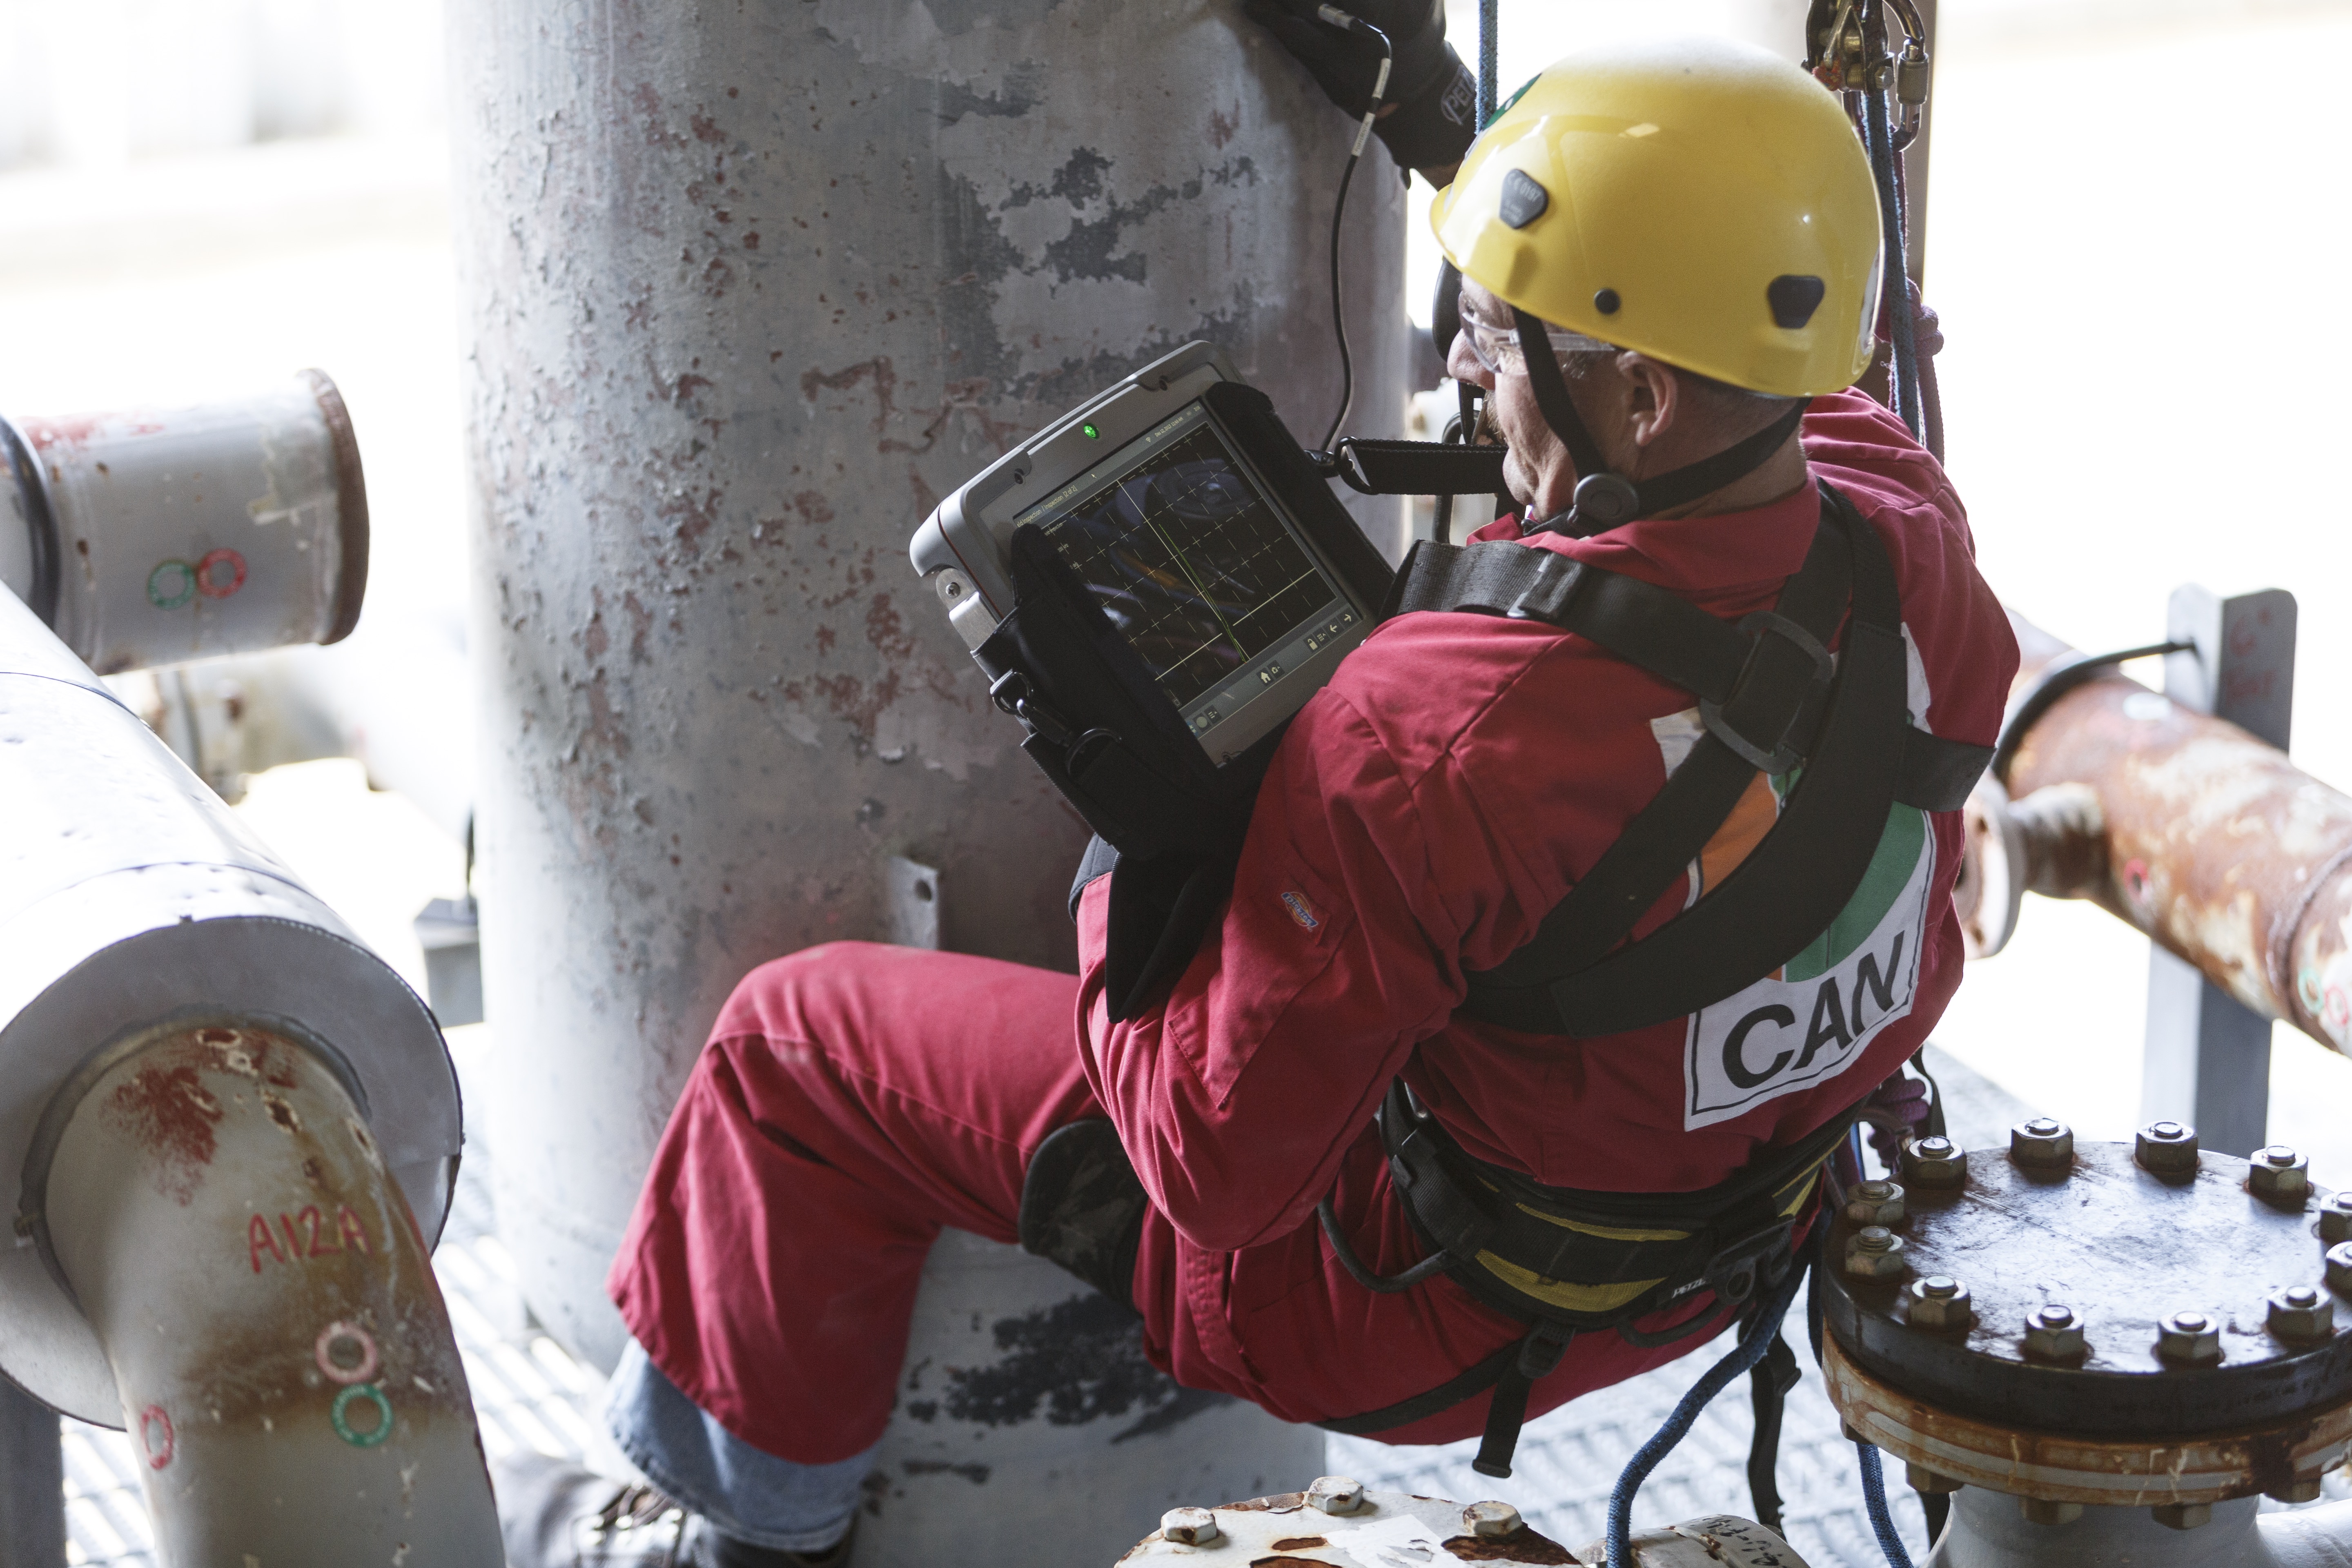
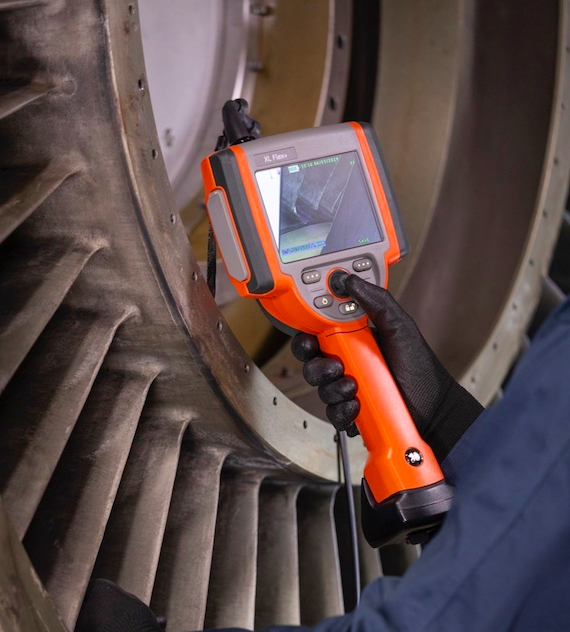
Visual Inspection, the first and oldest form of non-destructive testing (NDT), is that which is done with the naked eye as the primary scanning “tool” if you will. Modern visual inspection solutions augment the technician's natural abilities by allowing them to inspect hard to reach or hard to see locations thanks to video borescopes, rigid and flexible borescopes, and even remotely operated vehicles (ROVs).
Many of these modern solutions also offer enhanced lighting, contrast, and other image transforms that aid in the detection of flaws, thus enhancing the technician's vision while still relying on their expertise to make the determination of what is flawed and what is not.
Eddy Current Testing (ECT) is a form of non-destructive testing (NDT) that employs electromagnetic induction to detect and define flaws in conductive materials. ECT is a great solution for checking surface and subsurface (i.e. underneath a coat of paint) conditions.
ECT transducers, at their core, are comprised of a coil of wire (i.e. an induction coil) and an alternating current which together form a magnetic field. When this coil is introduced to conductive materials, any opposing currents will be induced into the material and will be visible as eddy currents.
Any defect in the target material will manifest itself as a disruption in the eddy currents, which can then be measured by way of their changing impedance. It is this sort of non-visual confirmation of surface and subsurface defects that makes ECT perfect for weld inspection, fastener hole inspection, tube inspection, heat treatment verification, and even metal grade sorting.

Magnetic Particle Inspection (MPI) is a form of non-destructive testing (NDT) that, as the name implies, employs a magnetic field to detect surface and subsurface irregularities in ferromagnetic materials.
When a magnetic field is applied to the target sample, the piece can then be magnetized and any resultant irregularities in the material can be detected by the application of ferrous particles or ferrofluid and checking for areas where larger concentrations of the ferrous materials have gathered, thus indicating a deformity in the material.
Acoustic Emission Testing (AET), another form of non-destructive testing (NDT) relies on the use and measurement of acoustic waves when passed through a solid. What makes AET different from conventional ultrasonic testing (UT) and limited to a very specific sort of defect, is that the waves being detected are actually produced by the target material during a failure or stress event, and not from an outside generation source.
Due to this ability, AET is often used to detect defects during the manufacturing process, such as a crack during welding of a pipeline that may go undetected.
Liquid Penetrant Testing (LPT) also known as Dye Penetrant Inspection (DPI) is another form of non-destructive testing that is used to detect surface defects in non-porous materials requires the application of a penetrating liquid, usually an emulsifier, which is then exposed to a developer which pulls the penetrating liquid out from any surface defect thus amplifying the presence of a defect through a concentration in the appearance of the penetrating liquid on the surface of the sample.
While inexpensive and relatively simple to deploy, LPT requires a clean surface, protective clothing, and proper ventilation, and results in a detection level only slightly higher than visual, with proper LPT training of the technician. One should also consider what methods are used in the cleaning of your target materials prior to LPT as some surface prep methods can interfere with the test thus skewing your results.
Leak Testing is another simple form of non-destructive testing (NDT) that does just what the name implies: it tests a given manufactured part to make sure fluids or gases aren’t escaping from any unintended paths.
There are several forms of Leak Testing from total submersion (i.e. the “bubble test”) to helium leak testing, pressure decay, vacuum decay, flow monitoring, and thermography.
This method of testing is widely used across multiple industries where leaks could be a problem, from automotive, oil & gas, to consumer packaged goods (CPG), medical, and waterproof electronics.
Notre large gamme de solutions d'essais non destructifs (END) regroupe les meilleures technologies d'END disponibles aujourd'hui, pour presque toutes les applications dans de nombreux secteurs.
Découvrez nos études de cas ci-dessous et voyez comment nous pouvons valoriser vos programmes END dès aujourd'hui.


